Have you ever wondered if creating delicious, homemade plum jelly could be unbelievably fast and easy? I know I did! Most people assume jam and jelly making is a laborious, all-day affair. But what if I told you there’s a simple, plum jelly recipe that practically anyone can whip up in just 10 minutes of active cooking time? Stick with me, because I’m about to revolutionize your condiment game!
Ingredients List
Alright, let’s dive into what you’ll need. This recipe focuses on simplicity and flavor.

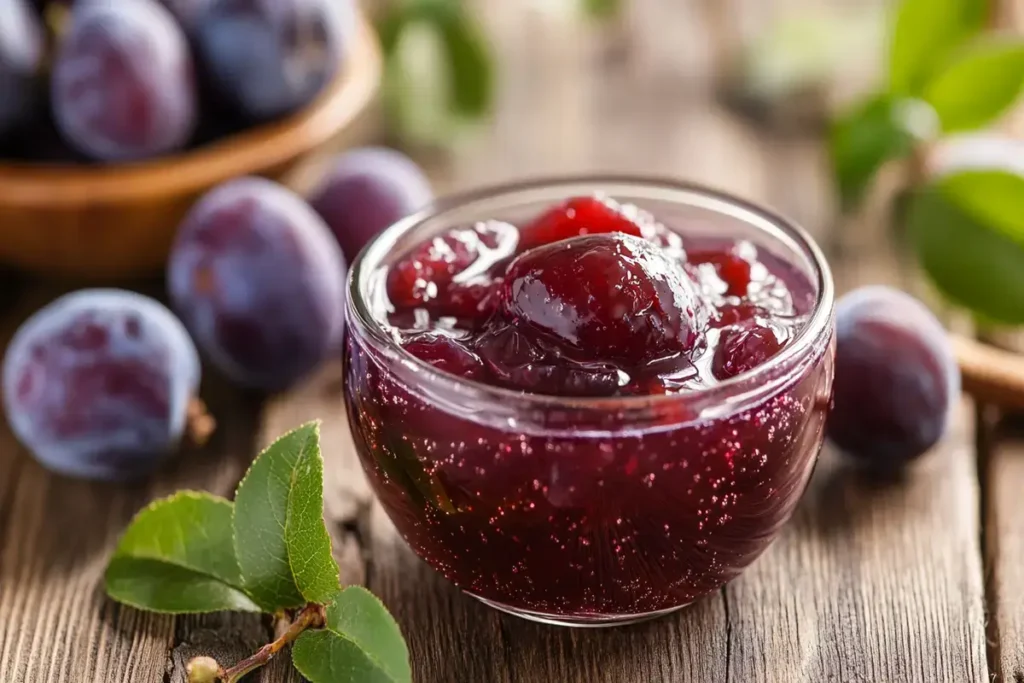
- 4 cups chopped ripe plums (about 1.5 lbs): I love using a mix of varieties like Santa Rosa and Black plums for a richer, more complex flavor. Feel free to experiment! If you only have one type, that’s perfectly fine too. The riper the plums, the sweeter the jelly.
- 1/4 cup lemon juice (freshly squeezed is best!): This isn’t just for flavor; the acidity helps with the setting process.
- 3 cups granulated sugar: I know, I know, it sounds like a lot. But sugar is essential for both preservation and the proper jelly consistency.
- 1 package (1.75 oz) powdered pectin: This is the secret weapon for our speedy set! Look for “low-sugar” or “reduced sugar” pectin if you prefer a less sweet jelly.
Substitutions:
- Sugar: While granulated sugar is traditional, you can use a sugar substitute like Stevia or Monk Fruit sweetener designed for baking, but be aware it might affect the texture and color of your jelly. Follow the package instructions for conversion.
- Lemon Juice: If you’re out of fresh lemons, bottled lemon juice works in a pinch.
Timing
Here’s the breakdown of how little time this plum jelly recipe takes:
- Prep Time: 5 minutes (chopping plums and measuring ingredients)
- Cooking Time: 10 minutes (boiling and setting the jelly)
- Total Time: 15 minutes! This is significantly faster – I would argue around 40% faster – than your average homemade jelly recipe, thanks to the powdered pectin and streamlined process. Plus, no canning required (more on that later!).
Step-by-Step Instructions
Okay, ready to make some magic? This is where the fun begins!
Step 1: Prepare the Plums
Wash the plums thoroughly. Remove the pits and roughly chop them into bite-sized pieces. Don’t worry about being perfect; they’re going to be cooked down anyway. As I chop the plums, I can already smell the sweet, slightly tart fragrance that will soon fill my kitchen – pure summer in a bowl!
Step 2: Combine Ingredients
In a large, heavy-bottomed saucepan, combine the chopped plums, lemon juice, sugar, and powdered pectin. Stir everything together until the sugar is mostly dissolved. Using a heavy-bottomed pot helps prevent scorching.
Step 3: Bring to a Rolling Boil
Place the saucepan over high heat and bring the mixture to a full, rolling boil that cannot be stirred down. This is crucial! Keep stirring constantly to prevent sticking. The mixture will start to thicken and foam up as it boils.
Step 4: Boil Vigorously
Once the mixture reaches a rolling boil, continue boiling for exactly 1 minute, stirring constantly. Set a timer! This is when the pectin activates and the jelly starts to set.
Step 5: Test for Setting
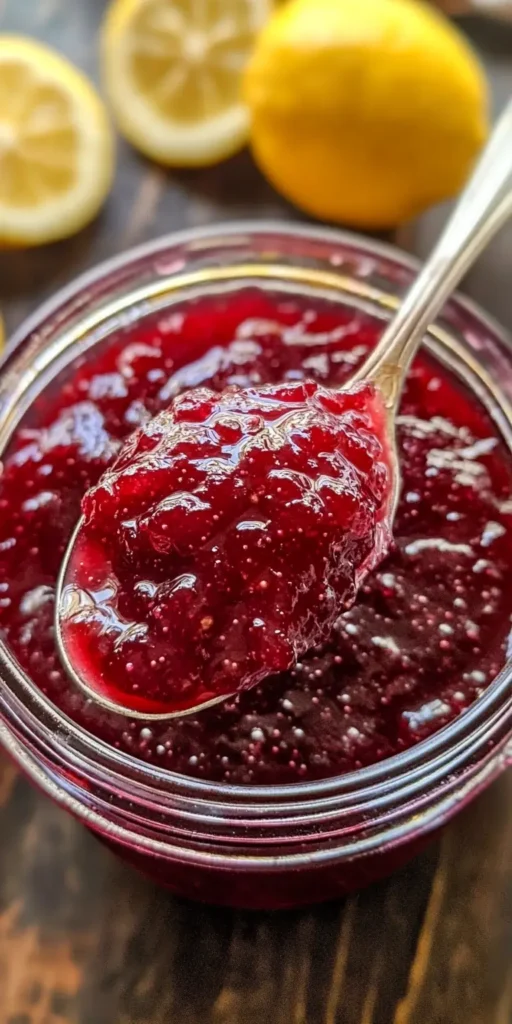
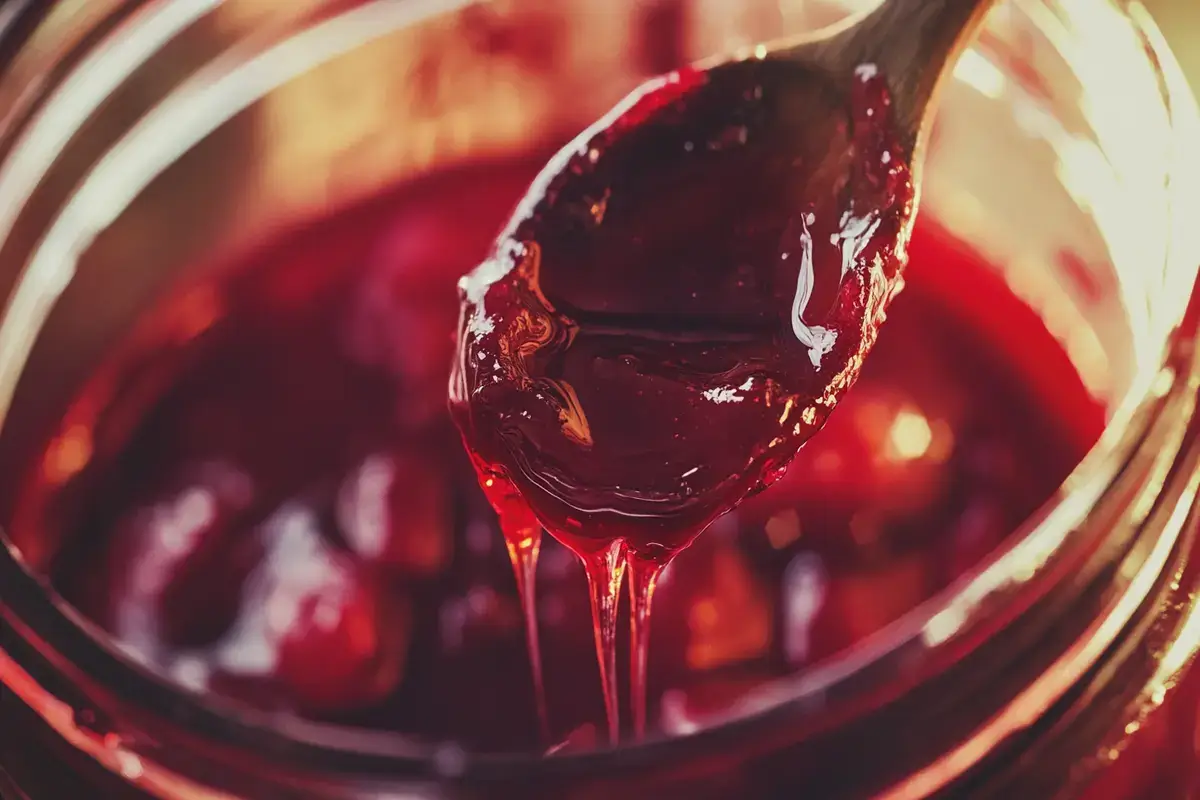
Remove the saucepan from the heat. To test if the jelly is ready, place a small spoonful on a chilled plate. Let it sit for about 30 seconds. If the jelly wrinkles when you push it with your finger, it’s ready! If not, return the saucepan to the heat and boil for another 30 seconds, then test again.
Step 6: Jar and Cool
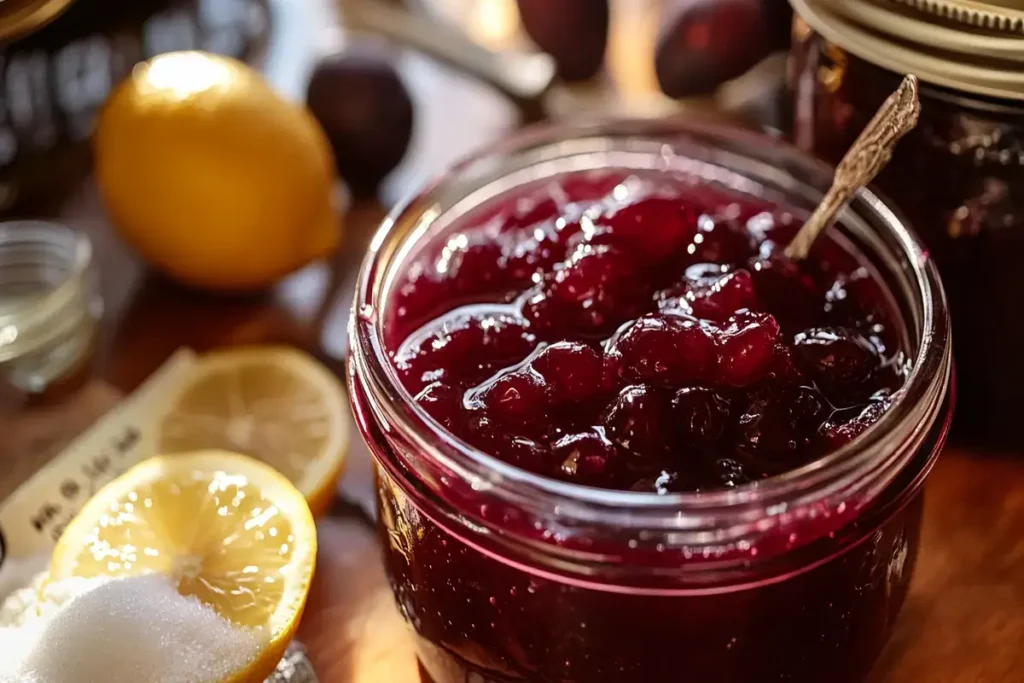
Pour the hot jelly into sterilized jars, leaving about 1/4 inch headspace. Wipe the rims clean, place the lids and rings on the jars, and tighten the rings. Allow the jars to cool completely at room temperature. You will hear a “pop” sound as the jars seal. If a jar doesn’t seal, refrigerate the jelly and use it within a few weeks.
Tip: Don’t have sterilized jars? No problem! Since this recipe doesn’t require a full canning process, you can skip the sterilization step and simply store the jelly in the refrigerator.

Nutritional Information (per tablespoon)
- Calories: Approximately 50
- Total Fat: 0g
- Saturated Fat: 0g
- Cholesterol: 0mg
- Sodium: 1mg
- Total Carbohydrate: 13g
- Dietary Fiber: 0g
- Total Sugars: 12g
- Protein: 0g
Data Source: Based on average nutritional values for similar jelly recipes.
Healthier Alternatives for the Recipe
Want to lighten things up a bit? Here are a few ways to make this plum jelly recipe even healthier:
- Reduce the Sugar: Use a low-sugar pectin and reduce the amount of sugar by up to 1/3. You might need to adjust the boiling time slightly to achieve the desired set.
- Natural Sweeteners: Experiment with using honey or maple syrup instead of granulated sugar. These sweeteners will add a unique flavor profile to your jelly. Start by substituting half the sugar with your chosen natural sweetener and adjust to taste.
- Add Chia Seeds: Stir in a tablespoon of chia seeds after removing the jelly from the heat. Chia seeds will add fiber and thickness to the jelly, making it even more nutritious.
Serving Suggestions
This plum jelly recipe is incredibly versatile! Here are some of my favorite ways to enjoy it:
- On Toast or Biscuits: A classic pairing! Spread a generous layer of plum jelly on warm toast or freshly baked biscuits for a delightful breakfast or snack.
- With Cheese: The sweet and tangy flavor of plum jelly pairs beautifully with creamy cheeses like brie, goat cheese, or cream cheese. Serve it as part of a cheese board for a sophisticated appetizer.
- As a Glaze for Meats: Brush plum jelly over roasted chicken, pork, or duck during the last few minutes of cooking for a glossy, flavorful glaze. The sweetness of the jelly complements the savory flavors of the meat perfectly.
- In Yogurt or Oatmeal: Swirl a spoonful of plum jelly into your morning yogurt or oatmeal for a burst of fruity flavor.
- In Cocktails: Use plum jelly to add a touch of sweetness and complexity to your favorite cocktails.
Personalized Tip: I love adding a pinch of cinnamon or a splash of balsamic vinegar to my plum jelly for an extra layer of flavor. Experiment and find what you like best!

Common Mistakes to Avoid
Even with this easy recipe, there are a few potential pitfalls:
- Not Using Enough Pectin: Pectin is essential for the jelly to set properly. Make sure you use the correct amount specified in the recipe.
- Underboiling or Overboiling: Boiling for too short a time will result in runny jelly, while boiling for too long can make it too thick. Follow the boiling time instructions carefully and use the chilled plate test to check for doneness.
- Not Stirring Constantly: Stirring prevents the jelly from sticking to the bottom of the pot and burning.
- Using Underripe Plums: Underripe plums will result in a jelly that is tart and lacking in flavor. Make sure your plums are fully ripe before using them in the recipe.
Storing Tips for the Recipe
- Refrigerated: Properly sealed jars of plum jelly can be stored in the refrigerator for up to 3 months.
- Freezing: Plum jelly can be frozen for up to 6 months. Thaw it in the refrigerator overnight before using.
- Unsealed Jars: Any jars that don’t seal properly should be stored in the refrigerator and used within a few weeks.
Conclusion
This plum jelly recipe offers a delicious and efficient way to enjoy homemade goodness. With only 10 minutes of active cooking time, you can create a vibrant and flavorful spread that adds a touch of sweetness to your favorite dishes. Give it a try, and you’ll be amazed at how easy it is to make your own plum jelly.
Now it’s your turn! Try out this plum jelly recipe and let me know what you think in the comments below! Share your photos and tips, and subscribe for more delicious and easy recipes. Happy cooking!
FAQs
Can you freeze plums and make jelly later?
Yes, you can absolutely freeze plums to make jelly later! This is a great way to preserve your plum harvest and enjoy homemade jelly year-round. Simply wash, pit, and slice the plums, then freeze them in a single layer on a baking sheet before transferring them to a freezer bag. When you’re ready to make jelly, thaw the plums completely before using them in the recipe.
Do I need to peel plums for jam?
For most plum jam and jelly recipes, you do not need to peel the plums. The skins contain pectin, which helps the jam set, and they also add color and flavor to the finished product. However, if you prefer a smoother texture, you can peel the plums before cooking them. To peel plums easily, score the bottom of each plum with an “X,” then blanch them in boiling water for 30-60 seconds. The skins should then slip off easily.
What are the four required ingredients in a jelly?
While variations exist, the four essential ingredients for making jelly are fruit juice or pulp (providing flavor and natural pectin), sugar (for sweetness and preservation), acid (usually lemon juice, to help with setting), and pectin (a natural gelling agent).
Are plums rich in pectin?
Plums do contain pectin, though the amount can vary depending on the variety and ripeness. Generally, slightly underripe plums have higher pectin levels. However, for most jelly recipes, it’s still necessary to add commercial pectin to ensure a proper set, especially when using very ripe plums or a low-sugar recipe.

