
How Many Phyllo Layers?
How many layers of phyllo dough should I use? Find out here! This guide covers everything you need to know for the perfect crisp bake.
Phyllo dough, known for its delicate, paper-thin sheets, is a staple in many recipes. From sweet baklava to savory spanakopita, this pastry offers incredible texture. However, getting the right amount can be tricky. Too few layers and your dish might lack structure. Too many, on the other hand, and it could become dense and chewy. So, how many layers of phyllo dough should you use? Let’s explore.
Understanding Phyllo Dough and Its Role
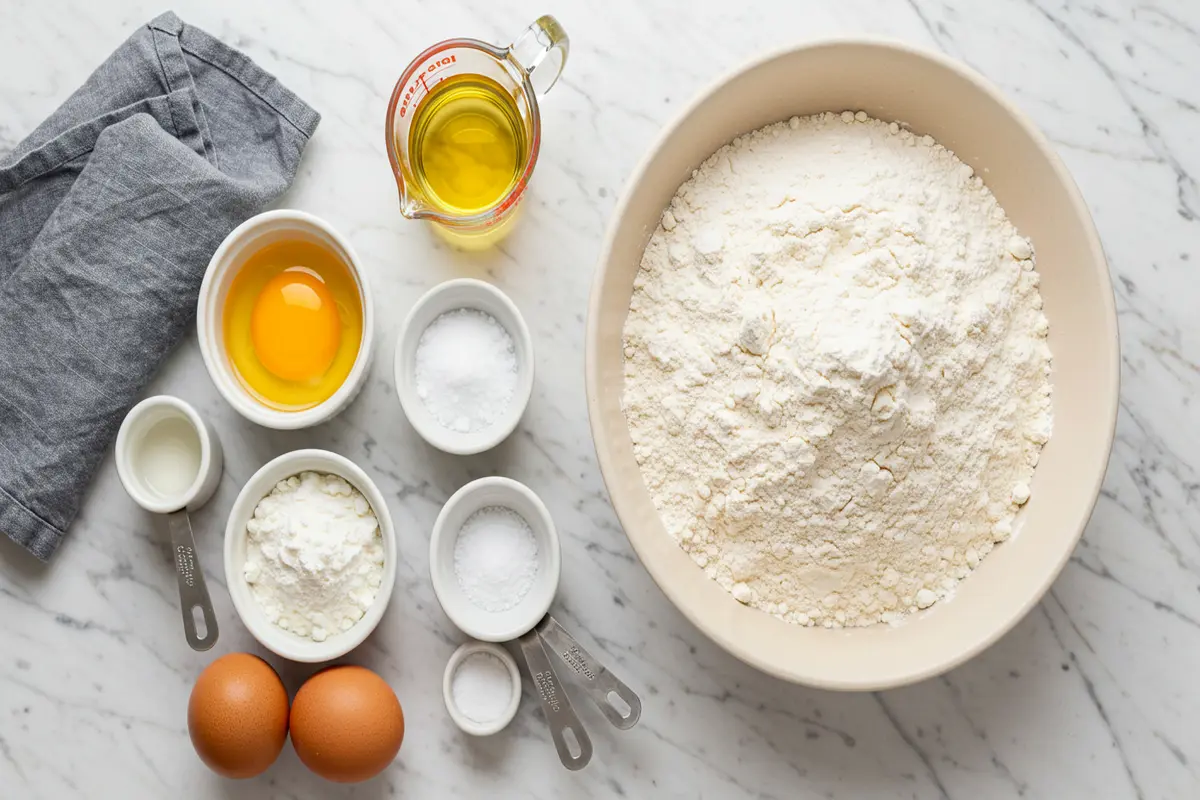
Before diving into specific layer counts, let’s understand phyllo dough. Its thinness is its most important characteristic. It’s made from flour, water, and a bit of oil. Thus, the result is a delicate, almost translucent sheet that bakes up wonderfully crisp. Because of this, using the correct number of sheets is essential.
What Happens With Too Few Filo Dough Layers?
Using too few layers of phyllo dough can lead to several issues. First, the pastry might become too fragile. It can easily tear or break. This is especially true when you’re working with fillings. In addition, a lack of layers may result in a flabby bake, rather than a crispy, flaky one. It won’t give the dish the lift it requires. The whole recipe might fall apart. The desired light and crispy texture will be absent. The experience will be less than ideal.
The Problem With Too Many Phyllo Sheet Layers
On the other hand, too many layers can also be problematic. A thick stack can prevent proper baking. The center might stay soggy while the outside browns too quickly. A very thick phyllo base may also feel dense or doughy. It should be light and crisp. Understanding how many layers of phyllo dough is enough is key. The result will be too heavy. It can become an unpleasant experience.
Finding the Right Number of Filo Sheets
So, how many layers of phyllo dough should I use? The answer isn’t always one size fits all. It varies based on your recipe and desired outcome. However, there are some general guidelines. The correct amount can make all the difference.
General Guidelines for Phyllo Layer Counts
Generally, most recipes call for anywhere between 4 to 10 layers. This range allows for a balance of crispness and structural integrity. For smaller items, like mini tarts, 4 to 6 layers are typically sufficient. For larger pies or pastries, 8 to 10 layers offer the needed support. Using an appropriate number of phyllo sheets will, therefore, help prevent problems when baking. This is a crucial part of the process.
Recipe-Specific Considerations for Dough Layering
Ultimately, your recipe should dictate the specific amount. Each recipe has its own unique requirements. If it calls for a very wet filling, you may need a few more layers to hold it all. For drier fillings, fewer layers might work perfectly. Always check the specific recipe for recommended phyllo amounts. This is crucial for success. Recipes are designed for specific outcomes, so it’s best to stick to instructions.
Factors Affecting Choice of Phyllo Sheet Amount
There are other things to consider. The size and depth of your baking dish play a role. Also, the type of filling will influence how many layers of phyllo dough are needed. Dense fillings may need more layers, while lighter fillings require fewer. Moreover, your own personal taste matters. Some people like a very delicate thin crust. Others, however, prefer a slightly thicker one. Personal preference will guide you over time. Don’t be afraid to experiment a little bit.
How to Work with Phyllo Dough Sheets
Working with phyllo dough can be a bit intimidating at first. However, following a few simple steps makes it much easier. Preparation is key to success.
Keeping Filo Pastry Dough Moist
The biggest challenge when using phyllo is its tendency to dry out. Once it dries, it gets brittle and very hard to work with. To avoid this, keep the stack of phyllo covered with a damp cloth or plastic wrap when you are not using it. Also, work quickly to keep the sheets pliable. Timing is also very important. Therefore, try not to delay your actions.
Buttering Between Dough Layers
Brushing each layer with melted butter or oil is a key step. This important step creates the lovely flaky texture we love. The fat helps to keep the layers from sticking together. It also adds richness and color. You don’t have to saturate the dough, however. A light coating is usually enough. Too much fat can, on the other hand, create a greasy final result. The balance is crucial.
How to Assemble your Phyllo Layered Dish
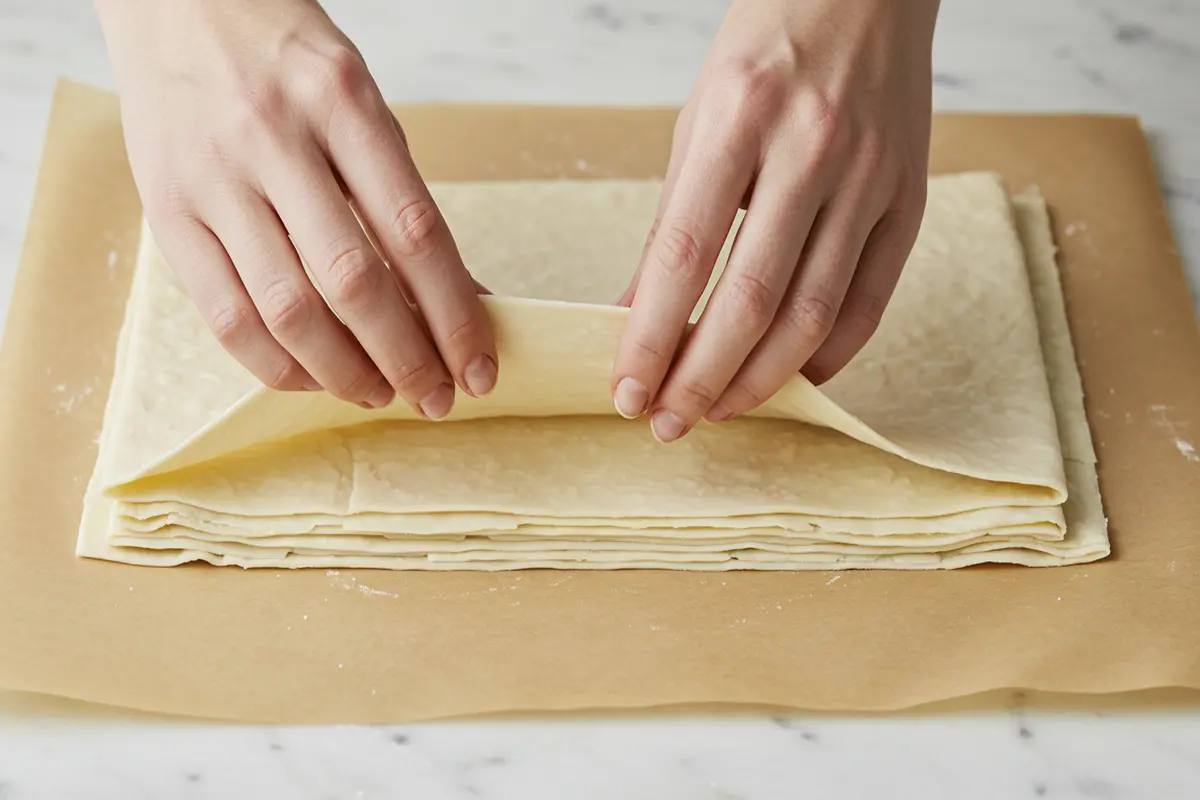
To assemble, lay a sheet of phyllo in your baking dish. Then, brush it with your choice of fat. Top it with another layer, and repeat. Afterward, add your filling and then top with more layers of phyllo. You may need to trim the excess dough hanging over the side of the dish. Follow recipe instructions closely and make sure the phyllo you use is even. This is essential for best results. The layers should be placed flat. Thus, avoid bunching or creases.
Handling and Baking Filo Dough
Handle the phyllo gently and with care. It’s very delicate. Once assembled, bake the dish per your recipe instructions. Watch it carefully so that the pastry is golden brown and crisp, not burnt. Correct baking is important. Too much heat or baking time can, therefore, scorch the phyllo. This can ruin your recipe.
Layering Techniques for Different Recipes
Different recipes may require slightly varied layering techniques. Knowing these details will improve your success. Understanding these details can improve results.
Layering Phyllo for Savory Pies
For savory pies, such as spanakopita, knowing how many layers of phyllo dough to use is key. Usually, around 6 to 8 layers is ideal. Start with about half of the phyllo on the bottom and then the rest over the top after you add the filling. Make sure to tuck the sides to create a seal. This will help prevent the filling from seeping out. It will create a secure base and top.
Layering Filo for Sweet Pastries
For sweet treats, such as baklava, you may use a few more layers. This is because the syrup will soften the dough somewhat. Therefore, using 8 to 10 layers can give the best structure and texture. Also, for sweets, use butter, rather than oil, for a more flavorful experience. Butter adds a richness that works well in sweet dishes. It creates a superior final taste.
Alternative Fat Choices for Phyllo Layers
While melted butter is a popular choice, oil can also be used. Olive oil, for instance, is good for savory dishes, while neutral oils work well for any recipe. Also, there are vegan butter alternatives. You can use those if you want. It is up to you. Many people like to use different oils based on flavor profiles. These can create unique results. It’s worth trying to see what you like best.
Troubleshooting Common Phyllo Dough Issues
Even with careful planning, you might encounter some common issues with phyllo dough. It’s important to know how to address these. Knowing these solutions helps avoid frustration.
Dealing with Dry Filo Pastry Dough
If your phyllo dough starts to dry out, do not panic. Lightly spritz it with water using a spray bottle. Then, quickly cover it again with a damp cloth. This should help to add some needed moisture. Work fast so it does not dry out again. Speed and precision are needed in this situation. Thus, this will bring back the pliability.
Preventing Soggy Bottoms with Correct Phyllo Layering
To prevent a soggy bottom, ensure you have a good layer of fat between all the phyllo layers. Also, make sure the oven is at the right temperature. Furthermore, consider pre-baking the bottom crust for a few minutes before adding the filling. This can help to create a more crisp crust. This can also be extremely helpful. A crisp bottom adds to the overall quality. It will make a big difference.
How to Handle Torn Filo Dough Sheets
Don’t stress if some of your phyllo sheets tear. Just use them anyway. If you are on the bottom layer or between layers, they are perfectly fine. Small tears are not the end of the world. Just brush it with butter and go on. Even torn sheets can still contribute to a good outcome. They can be easily used. Moreover, this also helps reduce waste.
Storage Advice for Leftover Phyllo
If you have leftover phyllo, store it properly. Wrap it well in plastic wrap or a freezer bag. Then, put it in the refrigerator or freezer. It can last for a few weeks in the fridge and a few months in the freezer. Defrost it well before use. Make sure it is completely thawed before using. Also, never refreeze it again. Thawing completely ensures that you can work with the phyllo well. Improper thawing, on the other hand, leads to poor results.
Advanced Phyllo Dough Tips and Techniques
Moving beyond the basics, there are some advanced techniques that can really elevate your phyllo-based dishes. These help produce exceptional textures and flavors.
Creating Textural Variation in Phyllo Dishes
Experimenting with different layer arrangements can create textural interest. For example, you can crumple some layers for a rustic feel. This can offer an irregular and pleasing look to the final result. It can add extra dimension. Thus, varying the way you place the layers will change the end result.
The Importance of Even Fat Distribution in Layered Phyllo
Even fat distribution is important to prevent soggy spots. Ensure that each part of the phyllo is lightly coated. Avoid puddles of butter. The butter should be thin and even to create a consistent bake. A good brush is essential for this step. Even distribution is key.
Adding Flavors to Phyllo Layered Creations
You can add flavors to your phyllo with herbs or spices, to complement your dish. Consider sprinkling a little dried oregano for savory recipes. A touch of cinnamon can enhance sweet items. Adding flavors elevates the results. It brings a bit more complexity.
Baking at the Right Temperature for Crispy Phyllo
Baking at the right temperature is key for perfect results. Too high a temperature can cause burning. Too low a temperature may, however, result in soggy results. Usually, a moderate temperature works best. Always keep an eye on the bake. This will help ensure that you get the right balance. Correct oven temperature will, therefore, make or break the bake.
Working Quickly and Efficiently With Phyllo Sheets
Phyllo dough requires quick and efficient work. The more you work, the faster you will become at it. However, don’t rush so much that you sacrifice care. It’s a balance of speed and precision. It is best to get organized before you even take out the phyllo. Having a plan helps everything go smoother.
Regional Variations in Phyllo Usage
Different regions use phyllo in varied ways. Exploring these traditions provides unique inspiration. It can also enhance your culinary skills.
Mediterranean Influences on Filo Pastry
In Mediterranean countries, phyllo is a staple for both sweet and savory dishes. This area has long traditions with this dough. From Greece to Turkey, each country has its own distinctive uses and methods. This is a wonderful thing to explore. It will also broaden your own cooking skills.
Middle Eastern Applications of Phyllo Dough
In the Middle East, phyllo is used in iconic desserts, such as baklava. They often incorporate nuts and honey. This offers an incredibly rich and flavorful treat. The combination of the crisp phyllo with the sweet filling is wonderful. These regional variations are unique and delicious.
European Adaptations of Filo Layers
In some European regions, phyllo is used to create both pies and pastries. They adapt the techniques to their own regional preferences. It’s great to see how a similar ingredient is used in different ways. This type of exploration is also very interesting.
Modern Twists on Working with Phyllo
Today, chefs are also experimenting with phyllo in many innovative ways. They’re creating everything from phyllo pizza crusts to unique tarts. The possibilities are endless, and the creativity is inspiring. These modern twists show the versatility of phyllo.
Common Mistakes to Avoid
When working with phyllo, it’s helpful to know the most common mistakes to avoid. This can save you time and effort.
Overworking the Phyllo Dough
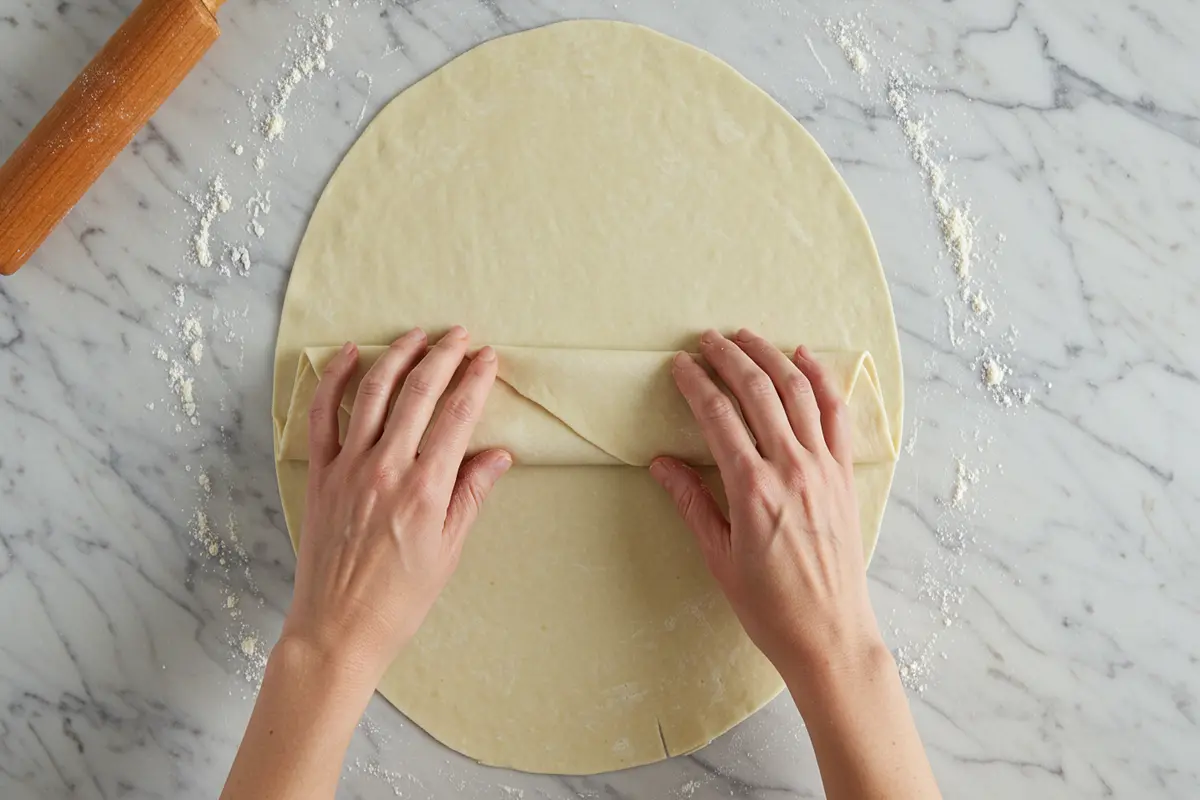
Do not overwork phyllo dough. Handle it carefully, and avoid excessive manipulation. This will prevent it from tearing. In addition, it is also best to avoid stretching the phyllo too much. This will help keep it intact.
Using the Wrong Fat for Layering Phyllo
Using the wrong type of fat can impact flavor and texture. Make sure to choose your fat based on the recipe you’re making. Butter, for example, can enhance the flavor of sweet dishes. Olive oil will, however, work great for savory dishes. The right fat is important.
Not Using Enough Fat When Layering Dough
Not using enough fat can cause the layers to be dry and crack. This can prevent them from becoming properly crisp. Always ensure you brush every layer. It should be a thin and consistent coat, not too thick, or too sparse. Fat is key to success.
Incorrect Storage of Unused Phyllo
Improper storage can lead to dried-out phyllo, making it very difficult to work with. Make sure to store it correctly to maintain its moisture. Wrap it tightly with plastic wrap and store it in an airtight bag. This will protect the delicate dough. This is crucial for preventing waste.
Neglecting Recipe Instructions for Filo Dishes
Always follow the recipe instructions carefully. These guidelines are created for success. Not following them may result in a final product that is not ideal. Recipes provide specific measurements, and directions, which must be followed closely. This will give you consistent results.
Conclusion on Phyllo Layering
Understanding how many layers of phyllo dough should you use can make all the difference. It’s a balance of recipe specifics, desired texture, and technique. With a little practice, working with phyllo becomes much easier. You will be making amazing flaky dishes in no time. Don’t be afraid to experiment. You will eventually find what works best for you and your recipes. In addition, always pay attention to your recipe for precise guidance.
Summary of Key Points for Proper Phyllo Use
In short, most recipes will call for between 4 and 10 layers of phyllo. Adjust this based on the dish. Also, it is essential to keep the phyllo moist and butter each layer carefully. Moreover, always follow recipe guidelines, and experiment to discover what you like best. Using these tips, you can create delicious, crispy and flaky dishes every time.
Enjoy the Process of Baking with Phyllo
Baking with phyllo should be enjoyable. Embrace the process, and learn with each bake. Soon, you’ll be creating fantastic recipes for your family and friends. So, have fun and enjoy the results. The experience should be pleasurable.
Additional Note:
Remember that the exact amount of layers might vary by brand, therefore, it is always best to follow your recipe. This helps with consistent results. There are small variations between brands and it is important to keep this in mind.
Frequently Asked Questions (FAQs)
How many sheets of phyllo dough should you use?
The number of sheets depends on the recipe. Generally, 4-10 sheets are used. For smaller items, 4-6 are usually enough. Larger items can need 8-10 or more.
Do you have to butter each layer of phyllo?
Yes, it’s important to brush each layer with melted butter or oil. This helps create the flaky texture. The fat also stops the layers from sticking.
How to use filo dough sheets?
Keep phyllo sheets moist. Cover them with a damp cloth when not using them. Brush each layer with melted butter. Then, assemble per recipe directions.
How to stop filo from going soggy?
Use a proper amount of fat between layers, bake at the correct temperature, and use dry fillings when possible. You can also pre-bake the bottom crust to prevent a soggy bottom.